
By Cindy Cloninger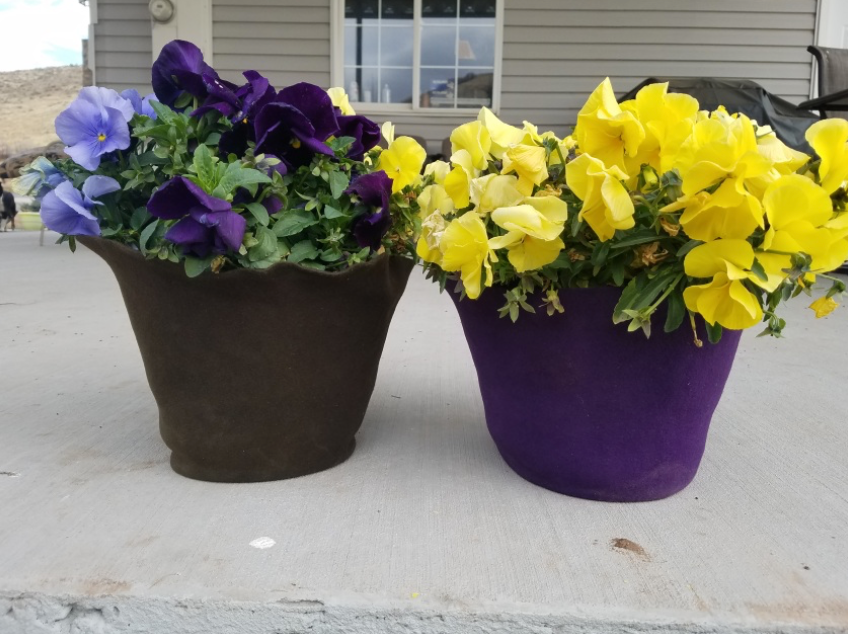 Or the best flowers & plants for your garden container and pots. Container gardening has many appeals. With ease of use and convenience in growing herbs and veggies fresh at hand, coupled with less stooping and bending, it’s no wonder potted plants are so popular. Container gardens are beautiful with their differing hues of green and varied shaped leaves. From the bright colors to multi-toned flowers, containers can add interest and be pleasing to the look and smell of spaces both in and outside your home. Container planting is not just limited to the floral variety, but planting herbs, berries, and vegetables in pots are not only beautiful, they can be bountiful as well.   Wild Valley Farms has put ingenuity to work once again and created Nutri Wool Pots from completely recycled wool felt. Different from most potting containers, Nutri Wool Pots are made of natural materials, that protect your plants from overheating and better insulate them from extreme temperatures. We already know the benefits that wool can provide as it breaks down over time releasing the perfect amount of nutrients to your tender plants and the barrier to pests like slugs and snails. Now you can have the added convenience of planting directly in these colorful Nutri Wool Pots. They look beautiful on any porch or balcony and because of their dense fibers they hold the water making them the perfect container for your blooms and crops. An added benefit of the completely organic pots is the biodegradable factor. These little beauties can be planted directly in the soil when you are ready for making a more permanent home for the plants that grace the steps of your porch. With a list of benefits like these, Nutri Wool Pots are a win, win for your planting needs. One major drawback to plants in pots is watering. Plants in containers have limited root space and require more watering, sometimes twice daily in hot weather. Installing automatic drip irrigation systems or bulb watering that releases over time can help, but perhaps the easiest solution is adding wool pellets to your soil.  Wool Pellets, though small, pack a major punch in gardening benefits. As part of their innate make-up, wool pellets soak up water. As a result, this creates added porosity for root growth and lessens watering by 25%, taking container gardening to a whole new level of ease. It’s no wonder that Wool Pellets have gained national attention and awards. Read about their journey from anonymity to acclaim in Wild Valley Farms Keeps Busy Bringing Wool Pellets to the World - 2017 Year in Review If you haven’t tried them out yet, you will love the work they provide and be pleasantly surprised at how well plants thrive when wool pellets are part of the soil make up. Not convinced? We have 6 Reasons You Should Be Using Wool Pellets in Your Garden Soil  Creating the visionContainer growing can be as simple as a single plant or crop in a container on your step to a layered visual and pleasantly scented arrangement of many types of plants. Some key steps experts suggest to getting that pleasing look out of your containers are planting in three areas. The thriller, filler, & spiller.
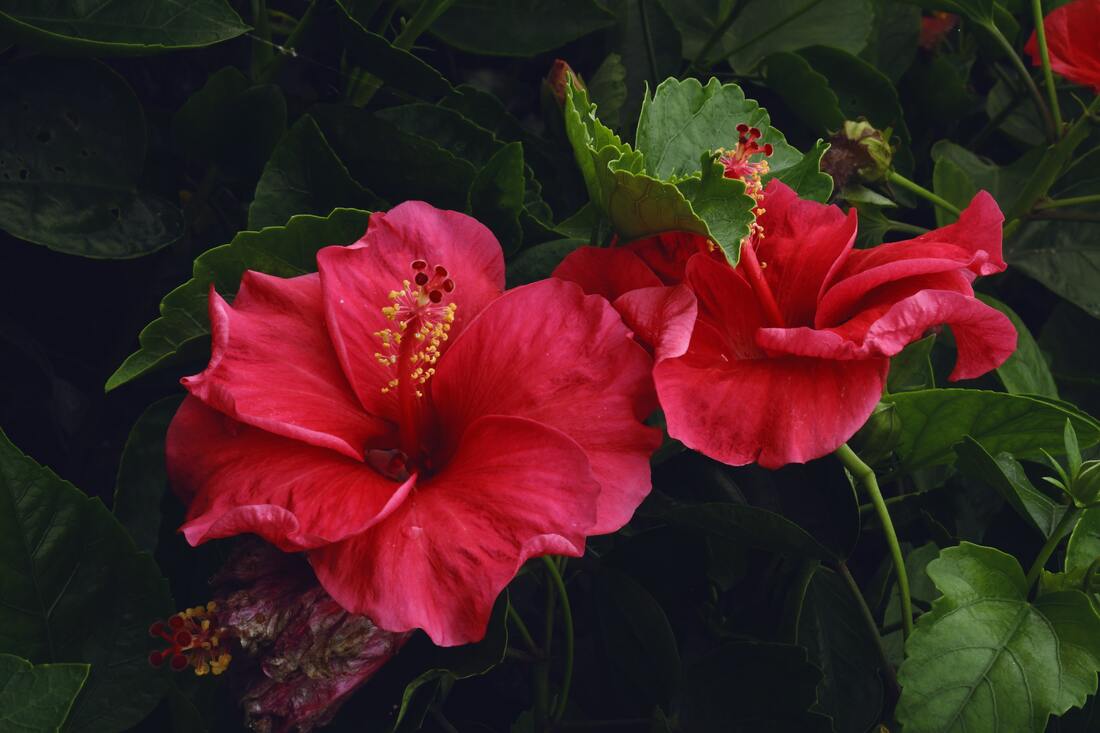
Keep in mind colors variety, layer bulbs and plants that flower at different times, and note water and sunlight needs in order to plant like plants together. 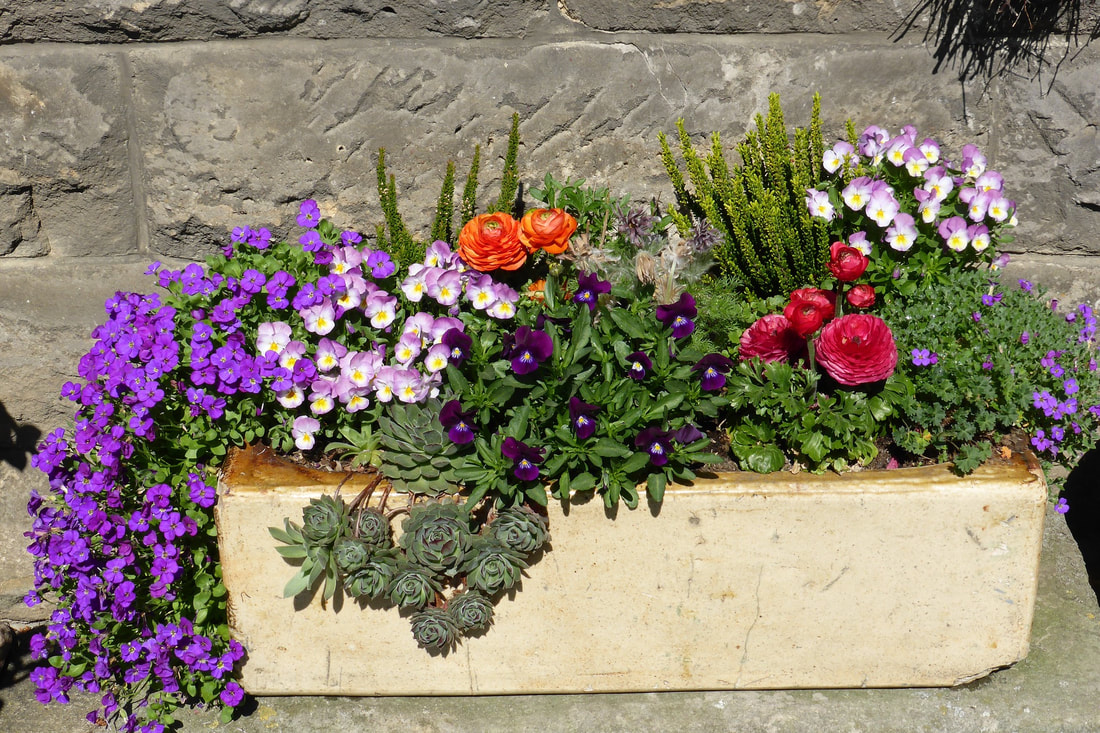 Flowers and shrubs Visually stunning and creating shape, shrubs can be the anchor of your containers. With the wide varieties that exist, and the portability of containers, you can plant most anything you desire. Here are some showstoppers and proven winners in this category.  Hibiscus
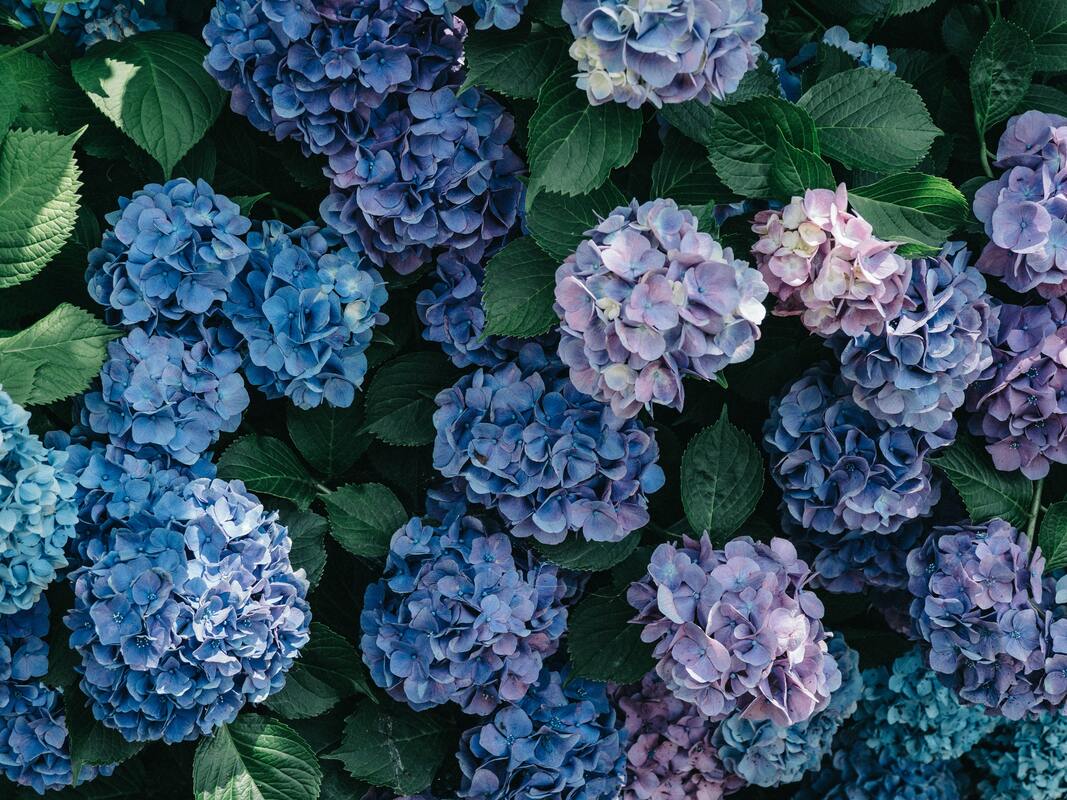
Hydrangea
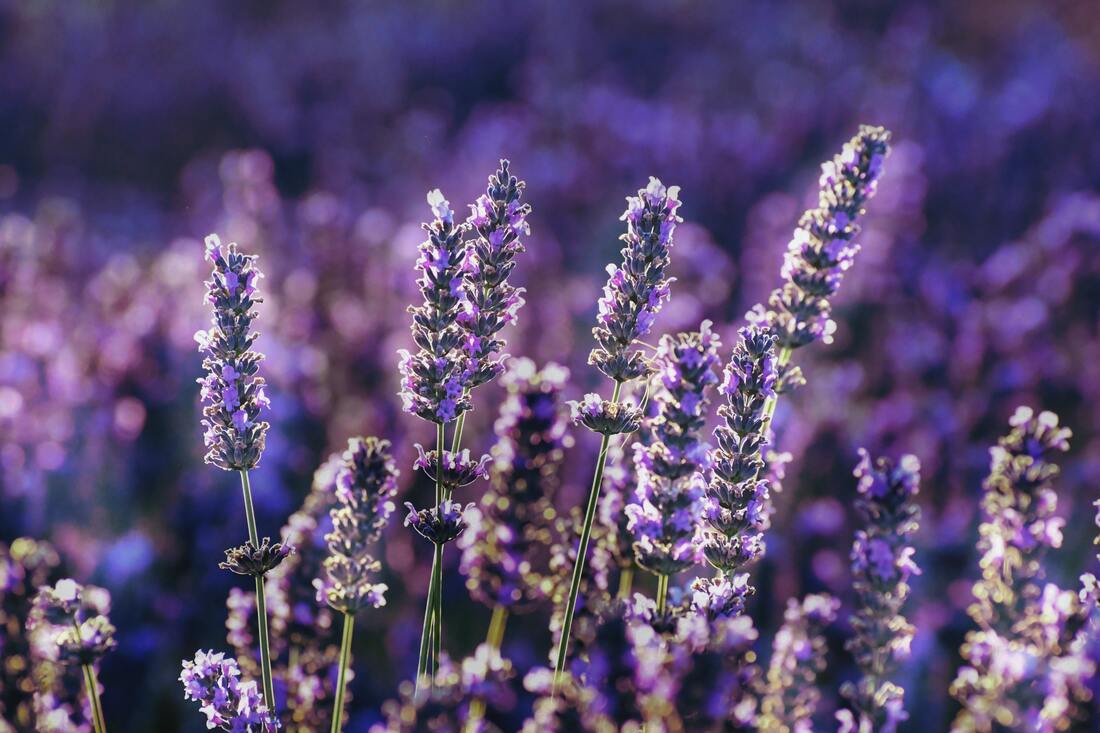
 Lavender
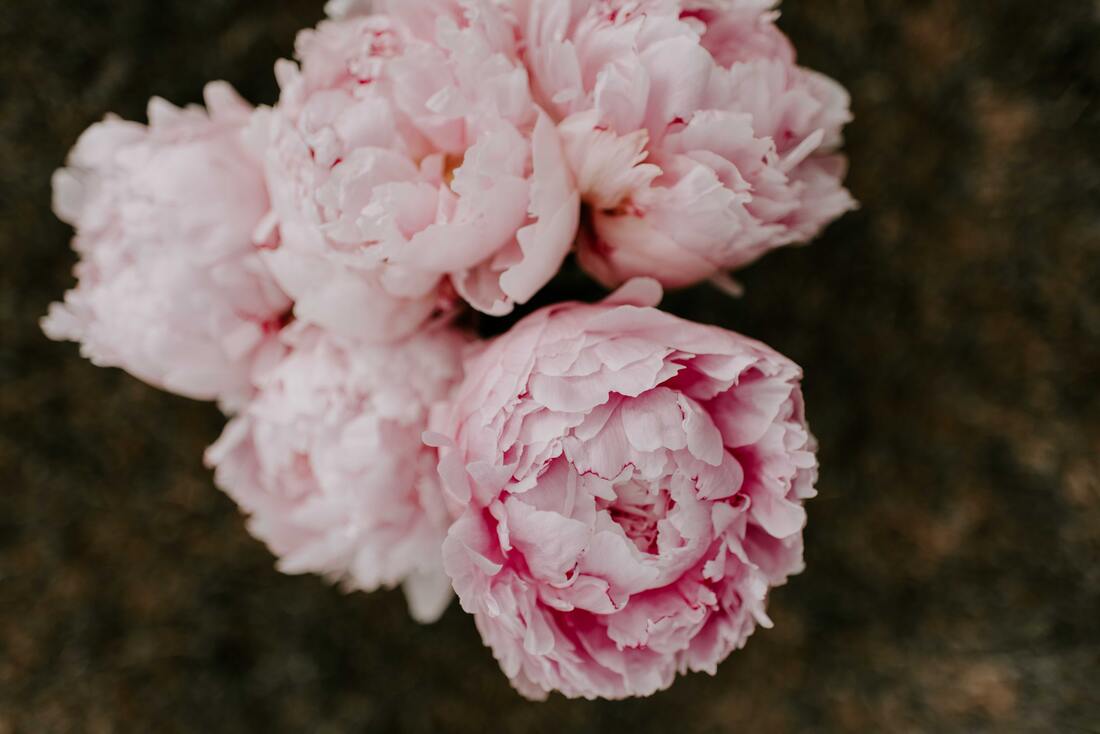
Peony
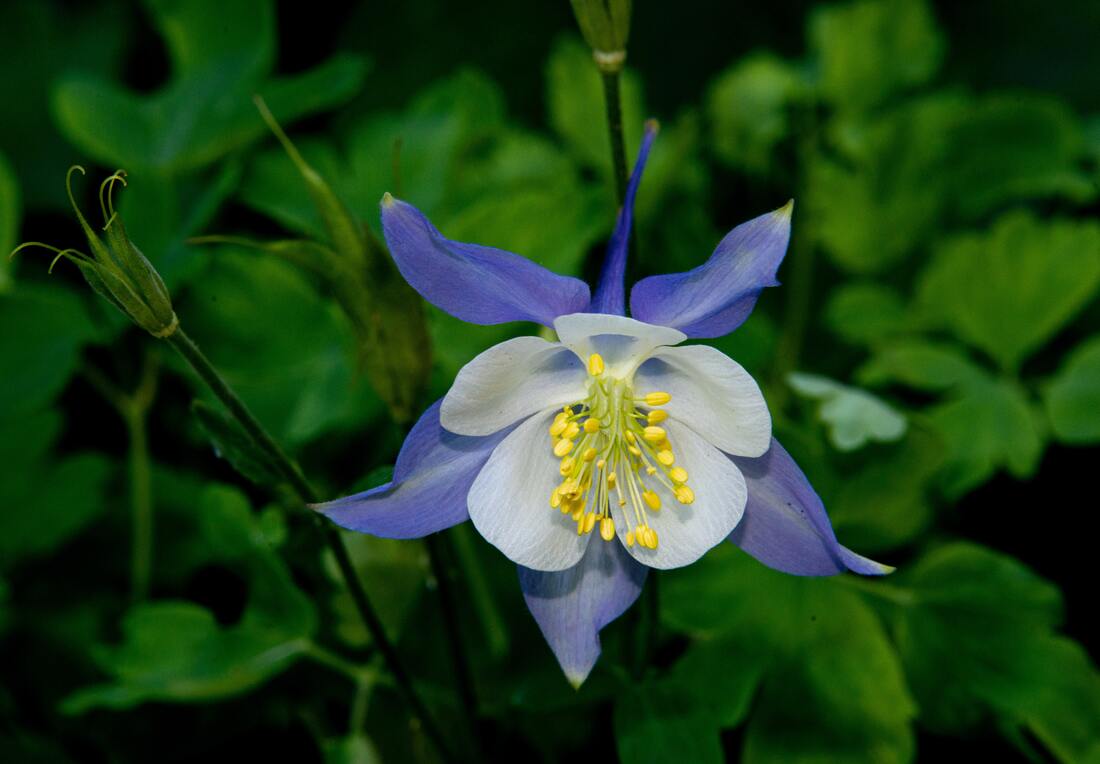
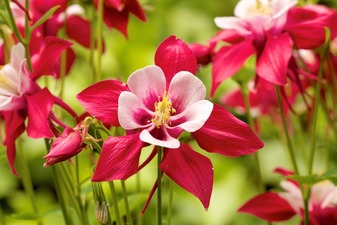
 Columbine
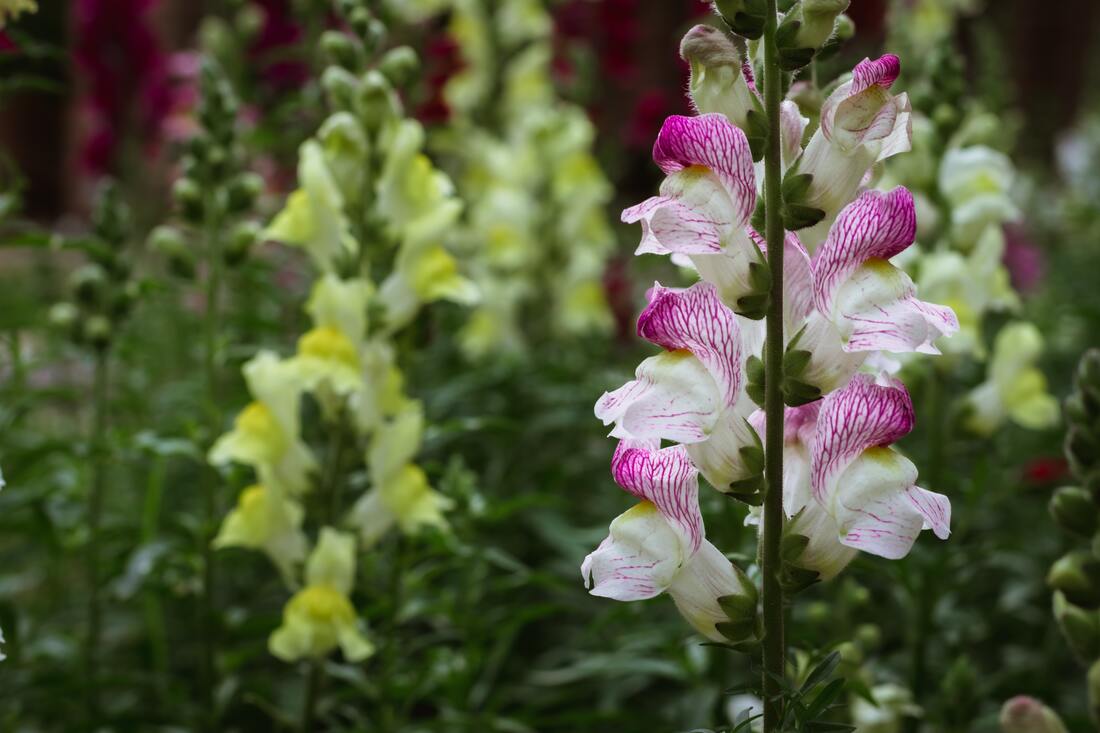
 offers unique depth and comes in a purples, pinks, yellows, and reds. Columbine, or Aquilegia came from the Latin word for eagle, perhaps because the petals look like eagle talons. Columbine has hardiness in zones 3-9 and are among the easy to grow plant category. With their unique shape and 'nodding' heads Columbine are real 'thrillers'. Snapdragon
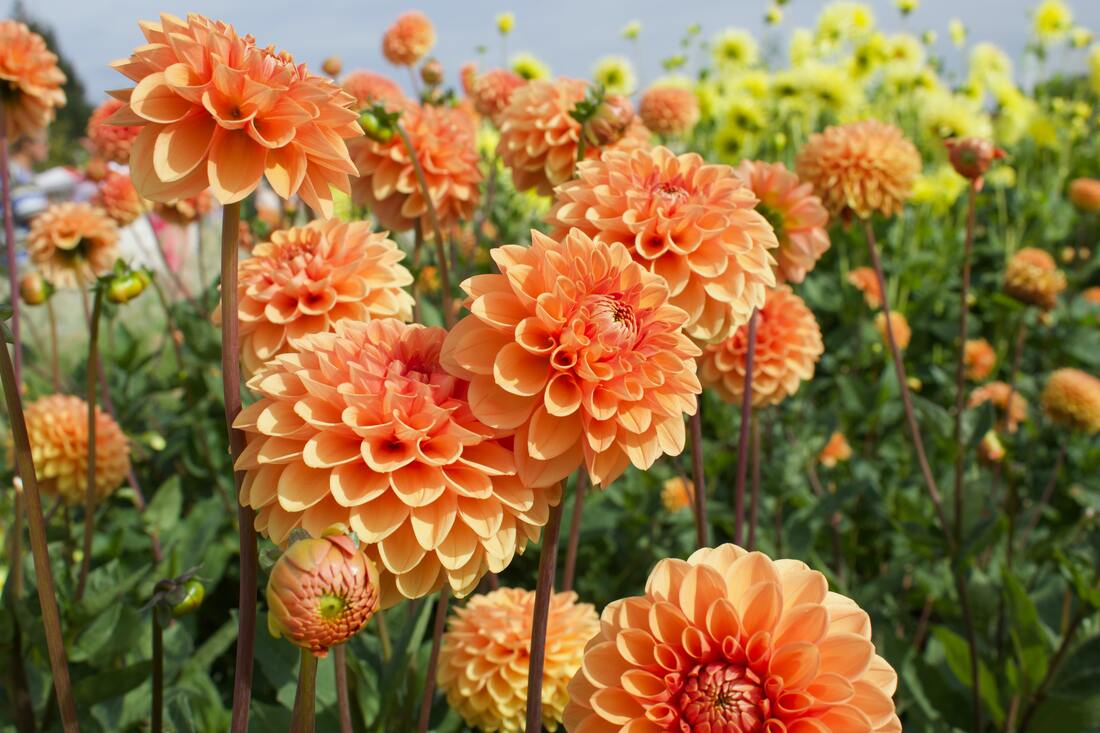
Dahlia
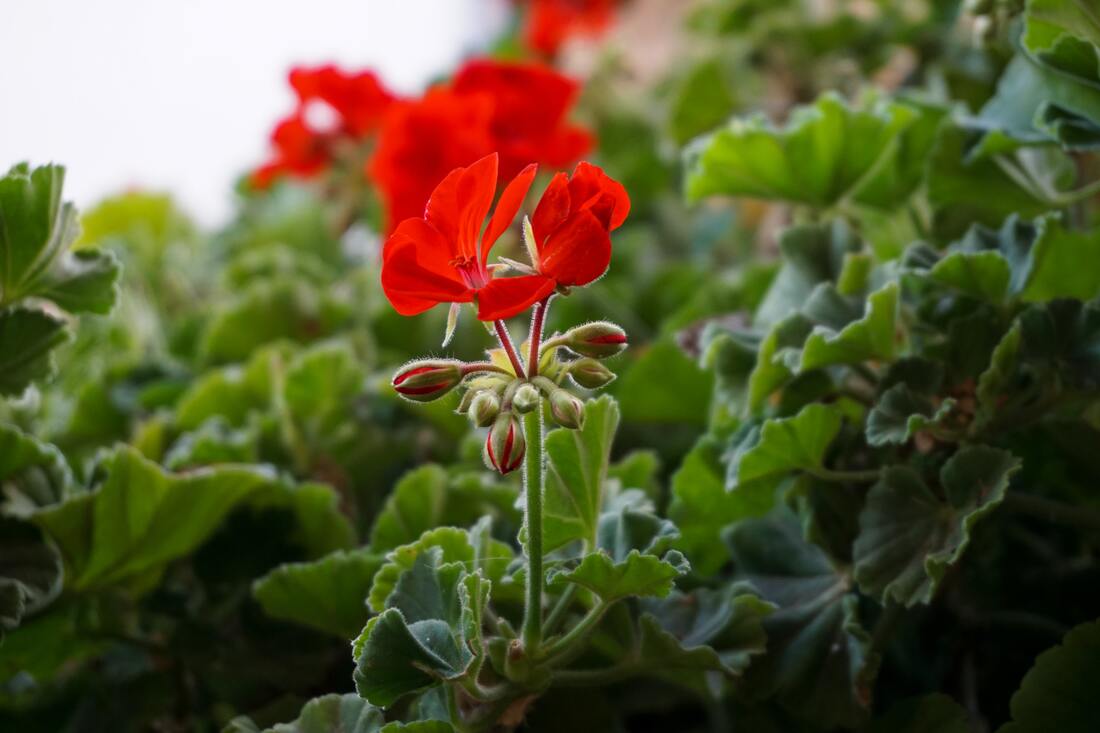
 Geranium
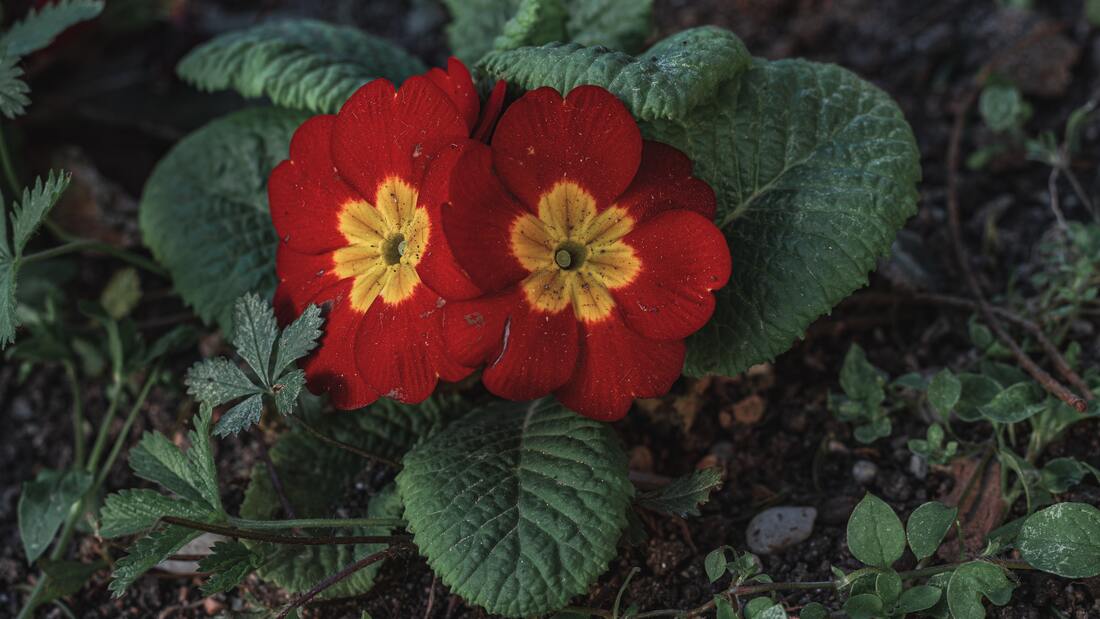
Cape Primrose
 Ivy
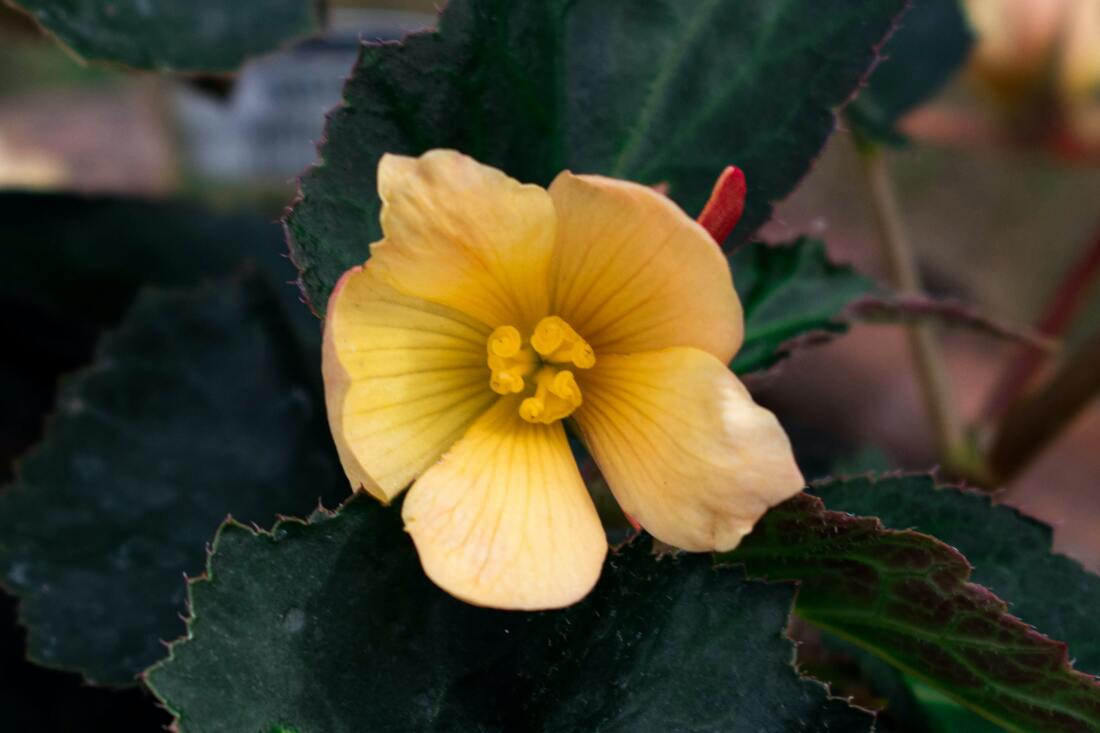
Begonia
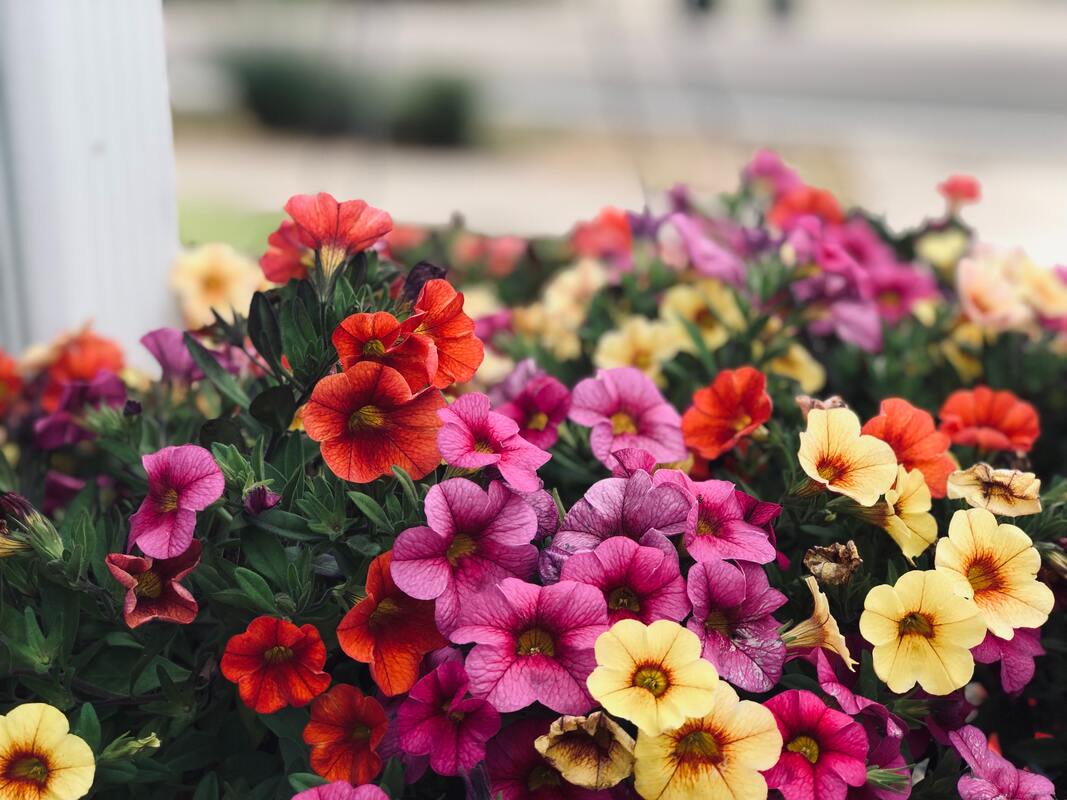
 Petunia
Bulbs
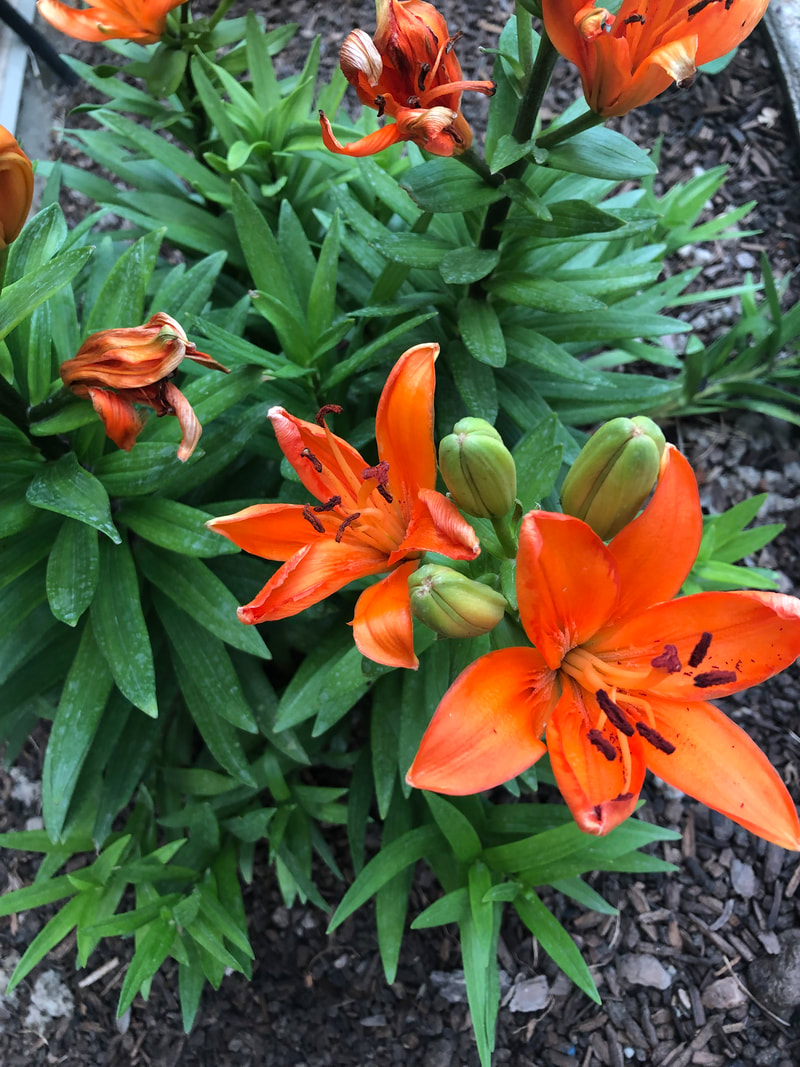
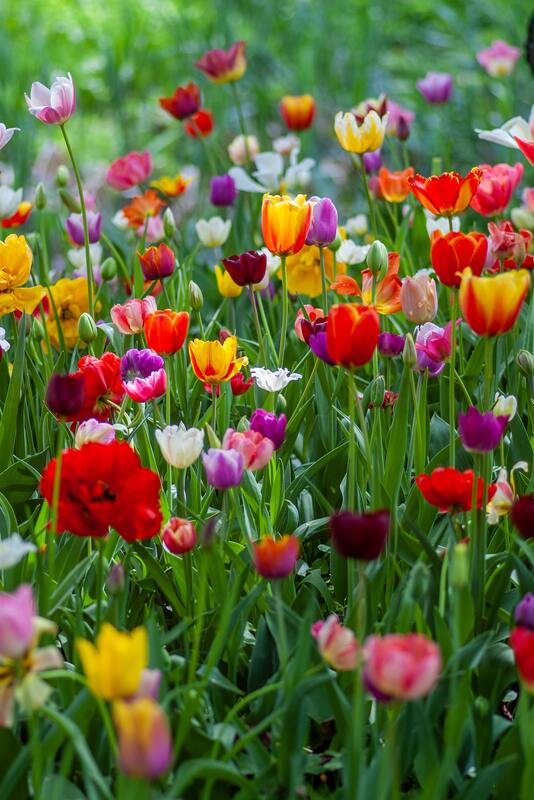
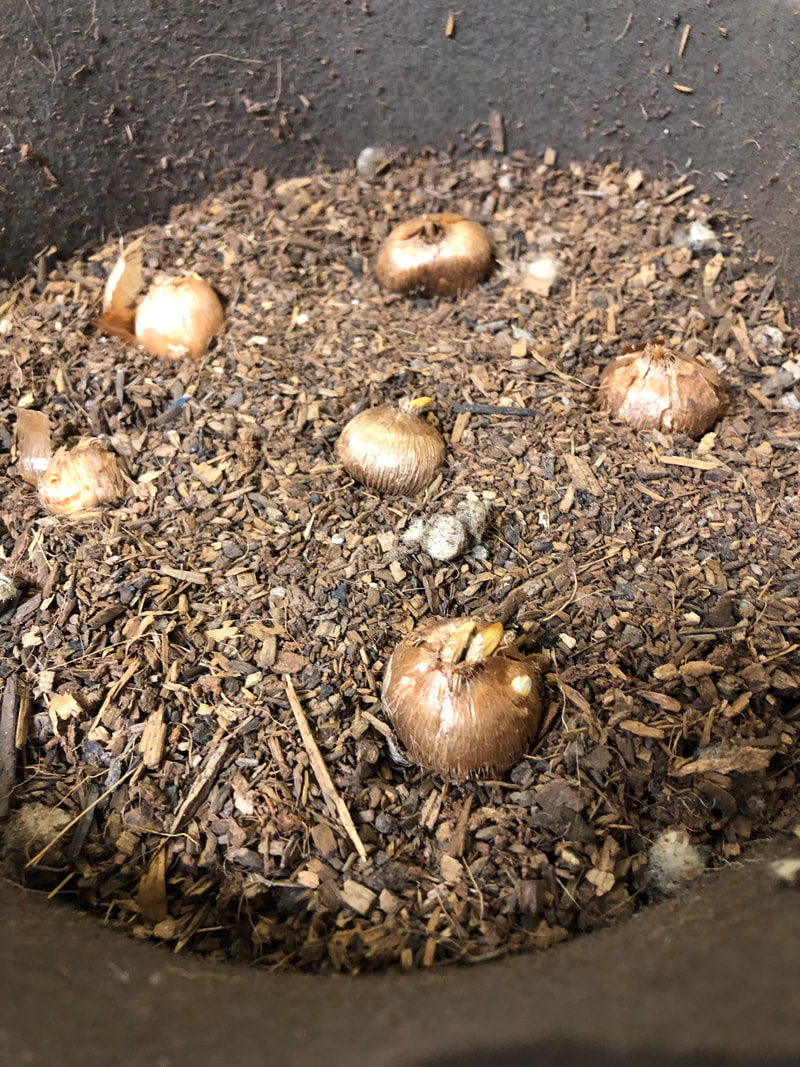
Bulbs have been planted in containers for years. Layering early and late blooms along with different varieties in one container can give you pots bursting with color and fragrance that will last long into autumn. Bulbs need to spend time in the cold in order to bloom. Make sure to check our chart and find key tips about How to Force Bulbs Like a Pro. Some of our favorite bulbs are tulips, crocus, and lilies. Don't be afraid to tuck your favorite herb of vegetable in amongst your other plants. Some flowers may do well the entire season in the 2.5 quart Nutri Wool Pots, but when roots have outgrown the pot, simply place into a larger pot or into your garden soil. Cindy CloningerVirtual Assistant, blog manager, email & social media marketing assistant, web development. I enjoy hiking, fresh fruits & veggies, planting flowers, cooking great meals. But I love being a wife and mother the most. When I'm not doing all of those, I love to read and try new things. No matter the forecast, live like it's spring.
8 Comments
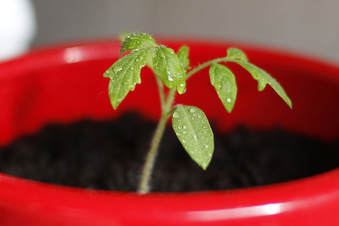
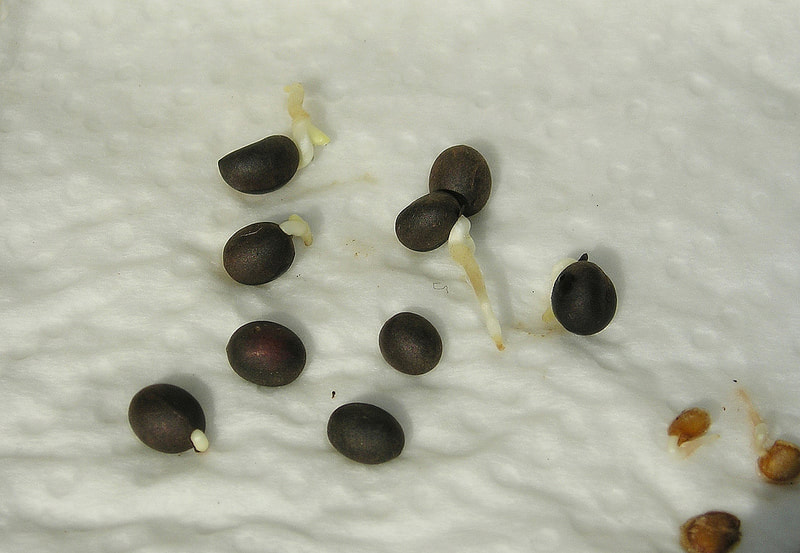
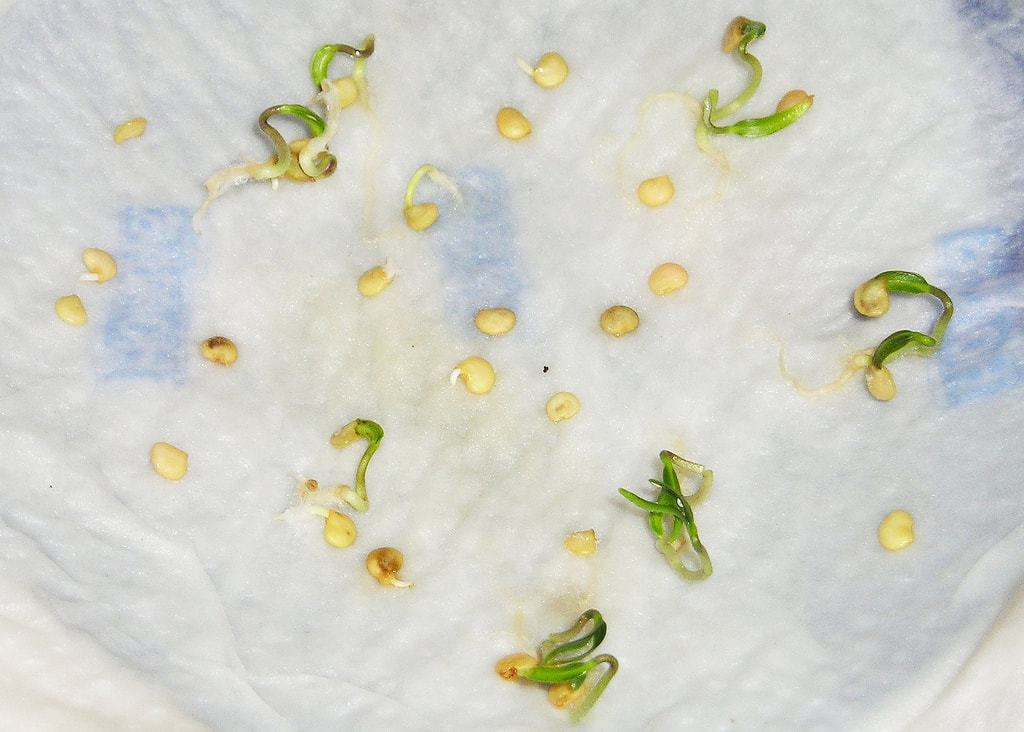
By Cindy Cloninger  Starting seeds indoors or germinating seeds inside is the next segment in our Planning Your Garden series. It’s time! Time to start those seeds to sprouting for your summer garden and springtime planting. You’ve been dreaming it up all winter long and the time is finally here. What better way to shake off those after Christmas, ‘winter will never end’ blues than to start planting your seeds now! Be sure to read the first article in our series Planning Your Garden - 5 Things to Consider When Planning Your Garden to map out all you need.  You’ve got your lists, you’ve got your seeds, now here’s your go to resource with the next steps you'll need for your perfect garden. There are several different approaches you can take in this part of the process, but don’t worry, we’ve got it all laid out for you and you can customize the best approach for your space, lifestyle, and equipment you have available. That makes it SO EASY! PRE-SPROUTINGPre-sprouting is the process of placing seeds in between layers of a moisture rich and warm environment free of soil. This technique allows you to see the actual germination of seeds as they sprout before you place them in a growing medium. Pre-sprouting can cut germination time significantly. If you have packets of seeds that are older and you’re questioning whether they are worth planting, this can help you easily test and plant those that are still viable. This is a great way to avoid waste and frustration in using materials and space for seed ‘duds’. 
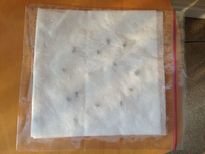
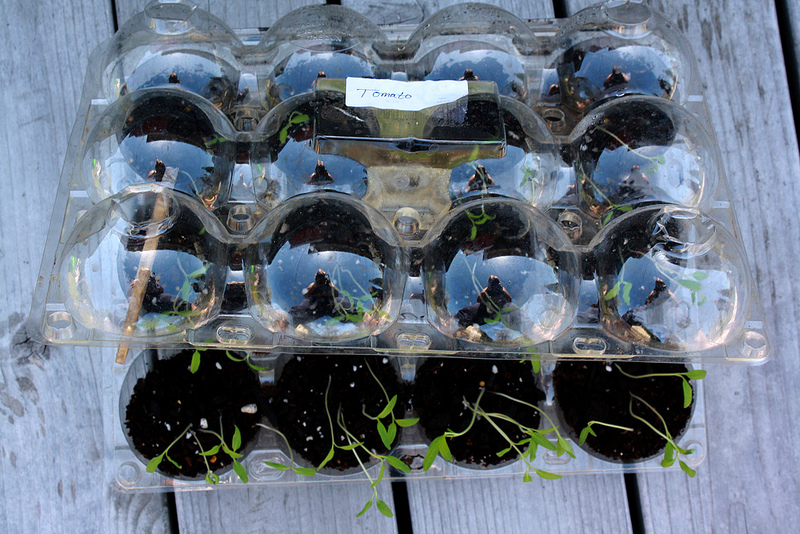
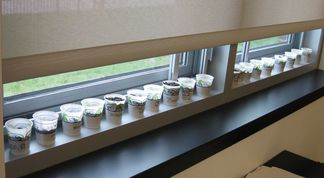
 To do this, simply place seeds in between two layers of moistened paper towels. Muffin bakery containers are the perfect place to sort, label and observe your seeds while they germinate. Or you can simply place them in a ziploc bag. Most seeds need between 65º to 75º to germinate, making the top of your refrigerator, a heated seed mat, or near another warm heat source the ideal place. Left in this humid, warm environment you’ll be pleased to see how quickly germination happens. Check daily to make sure the paper towels remain damp and spritz with water as needed. I love skipping the thinning out process! When seeds have sprouted, carefully transfer to containers filled with moist potting soil. If pre-sprouting is not for you, this step can be skipped and you can plant un-germinated seeds directly in moist Intelli-soil potting soil. CONTAINERS
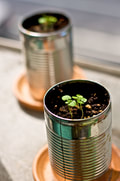
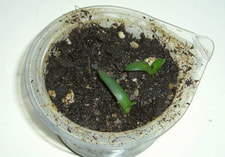
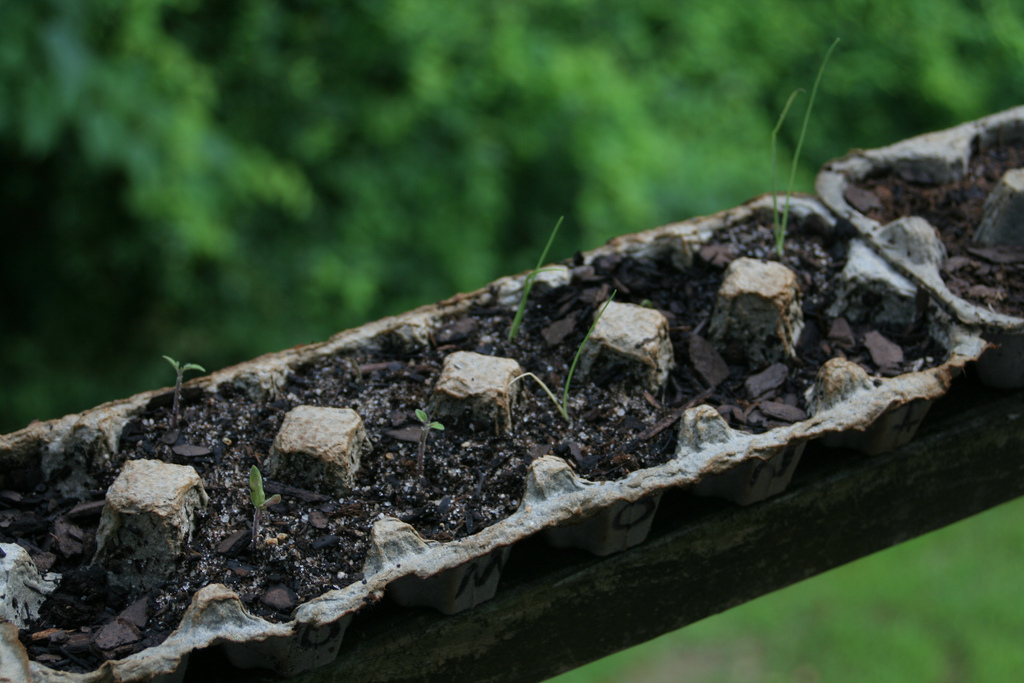
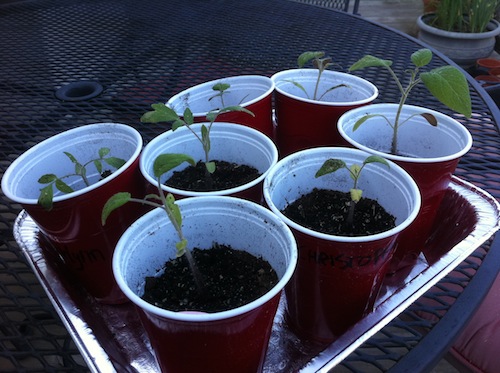
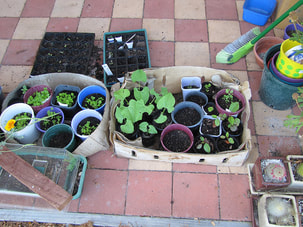
Let your imagination and inner recycler run wild here. Gather containers from around your home, the possibilities are limitless. Some favorites are: egg cartons, plastic cups, salad and bakery containers from grocery store, toilet paper rolls, berry containers, muffin tins, milk jug, rotisserie chicken container, ice cube trays, newspaper trays, NutriWool Pots or more traditional seed starting trays. Whatever choice you make to house your little plants, be sure to wash them using warm, soapy water and rinse well. If the container you choose does not have a lid, cover with plastic wrap or place in a rubbermaid container with lid. Skip the covering if you pre-sprouted your seeds.
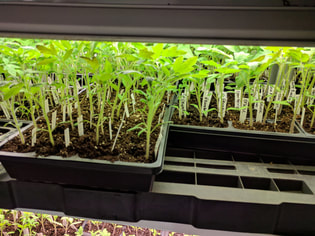
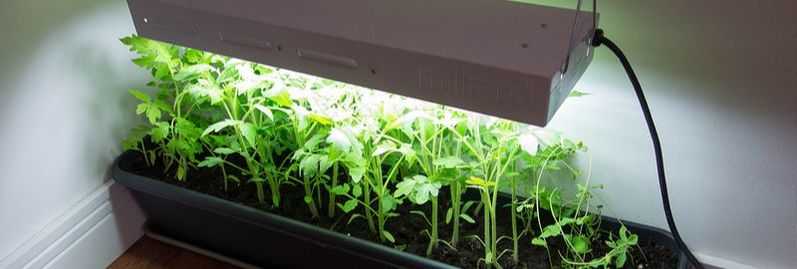
 SOILNew seedlings are especially vulnerable to disease and pathogens. This makes it important to provide the right soil, rich with nutrients and free from introducing potential threats to cultivation and harvest of your new plants. Because of this, it is best to steer clear of soil from your existing garden or reusing potting soil from other plants. We suggest you start with Intelli-Soil, a premium premixed potting soil. This nutrient rich soil is now available, just in time for all your spring and summer potting needs. Mixing Wool Pellets into your soil add the tri-fold benefit of nutrients, root boosting porosity, and water wicking - protection from overwatering. LIGHTNow that you’ve got germination and your seeds in soil, let’s get them into the light for growing. New seedlings need at least 12-16 hours of light each day. You can choose natural or artificial light.
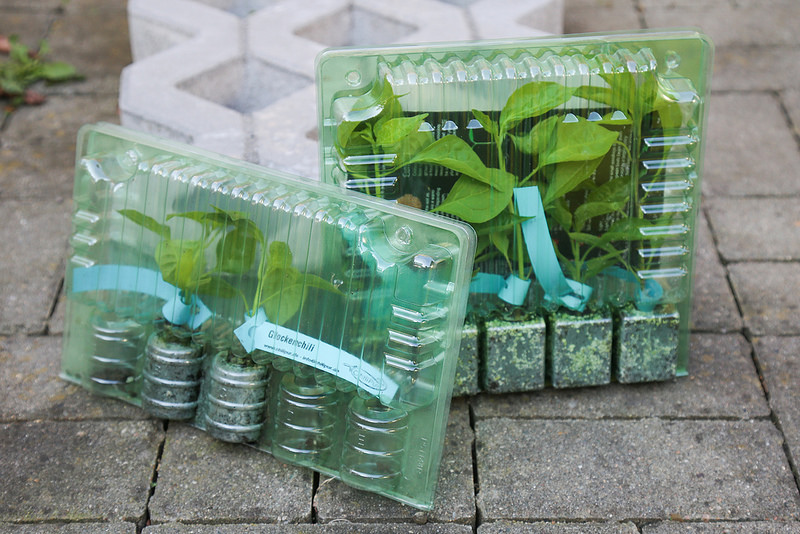
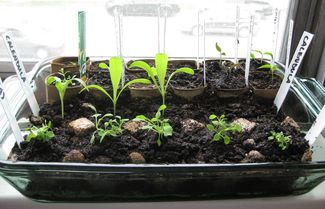
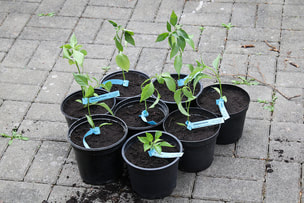
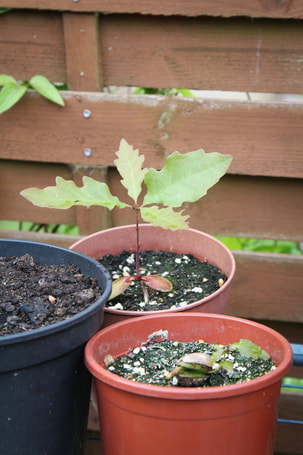
ROOT GROWTH & FERTILIZINGKeep the soil damp but not soggy in the earliest stages of growth. This is where the addition of wool pellets really makes a difference. Water from the top, initially, using a turkey baster, spray or condiment bottle. As the seedlings grow, encourage root growth by adding water to the bottom of the leak proof container. Be careful not to let the soil become waterlogged and drown new plants. Wool pellets help to wick away water from your tender and susceptible seedlings, protecting them from harmful mold growth. Thin plants so that just one plant, the strongest, remains in each container. You get to skip this step if you pre-sprouted you seeds. Yay! At this stage you can remove and coverings for seeds planted directly in the soil. Seedlings get nutrients from the seed's endosperm when it is newly sprouted and begins to grow. When the second leaves, or ‘true leaves’ appear you may begin fertilizing with Super Compost Tea or another organic fertilizer. 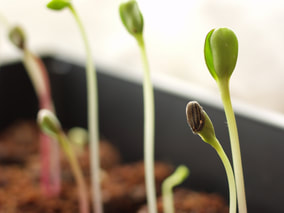 When the second leaves, or ‘true leaves’ appear you may begin fertilizing. When the second leaves, or ‘true leaves’ appear you may begin fertilizing. The wool pellets you mixed into your soil will start doing some serious work here. Over time, wool pellets break down releasing a fertilizer value of 9-0-2 NPK. (NPK refers to the Nitrogen, Phosphorus, and Potassium (N,P,K) it contains) These 100% organic waste wool pellets absorb water creating porosity that helping create needed space in the soil for root growth. If you're not convinced to add these little gardening superheroes to all of your garden and flowerbed soils, this next function in their makeup will do the trick. Wool pellets have the added benefit of decreasing watering by 25% saving you time and energy. Bonus! Wool pellets are available on website and garden centers across the US and Canada. Plants can absorb nutrients in Super Compost Tea 10 times more efficiently through their leaf surfaces than through their roots. As a result, spraying foliage with Super Compost Tea can produce remarkable yields. For best results, spray plants especially after transplanting, and during blooming time and just after fruit sets. Find out more by reading What is Compost Tea?  Many plants will require transplanting into new pots before they are ready for outdoors as they outgrow their containers. When the need for watering is almost constant or roots fill up their current containers, move them into something bigger, like the colorful NutriWool Pots. Keep reading to learn more about these little garden gems. TRANSPLANTING OUTDOORSStrong and healthy plants are our end goal, and after all the hard work you’ve put in thus far, you won’t want to miss this important step. When plants are ready to move outdoors it’s time to allow a weeks worth of time for ‘hardening’ or getting the plants ready for the harsher environment found outdoors. No longer will they have the soothing and consistent warm temperatures, watering and fertilizing will be less, along with wind, rain, stronger heat from the sun, and colder temperatures at night
Begin by allowing your plants a few hours outdoors each day in a protected and preferably shaded area. Decks and patios make the ideal spot. Gradually move and expose seedlings to more and more direct sunlight, gentle breezes, and time outdoors while still bringing them indoors and away from the colder night air. Check the soil frequently to avoid drying out throughout the hardening process. End the hardening off process by allowing seedlings to remain outside overnight when nighttime temperatures stay above freezing. Cool loving vegetables such as peas, beans, beets, lettuce, and broccoli can endure frosts once they are planted and like nighttime temps around 45 degrees. Warm loving vegetables such as tomatoes, peppers, and melons only tolerate nighttime temps around 65 degrees, so keep these plants indoors longer or grow them entirely in containers inside.  Prepare your soil for transplanting ahead of time:At this point you've invested a large amount of time and tender care in nurturing the growth of you plants. You may feel your work is almost done, but prepping the soil outdoors is vitally important to reap the benefits of a great harvest. Check off these items in your preparation:
 GROW IT IN A CONTAINERIf you have a very short growing season, no room for planting, or want to double your growing times, you can grow and harvest your plants entirely indoors in containers. Some of the easiest plants to grow in containers are tomatoes, herbs, peppers, strawberries, squash, melons, beans, and most of you leafy greens. In addition, root vegetables like potatoes, onions, carrots, and beats love container growing too.
  Have you tried growing tomatoes indoors? Read these 6 Tips for Growing Tomatoes in a Container to get the best results. What are your favorite seed starts? Look for our Wool Strips spring of 2018. What are Wool Strips? They are wool with seeds pre-measured, spaced and ready to be added directly to your soil. Gardening has never been easier! Look for these little garden helpers full of carrots, and herbs in March. Cindy CloningerVirtual Assistant, blog manager, email & social media marketing assistant, web development. I enjoy hiking, fresh fruits & veggies, planting flowers, cooking great meals. But I love being a wife and mother the most. When I'm not doing all of those, I love to read and try new things. No matter the forecast, live like it's spring. |
Archives
May 2024
Categories
All
|


 RSS Feed
